


Everything You Need To Know About Framing
ways to elevate your framing, links to frames we love, the basics of framing, and more...

So… you’ve found the art. It’s beautiful, you love it. But now you’re faced with the next (often dreaded) step: framing. Where do you begin?
(& if you don’t want to read through…here is a link to some frames I love…)

Framing can be tricky. It’s tempting to think, “I’ve got my art, I’m all set.” But (and I say this with love, so don’t shoot the messenger) the days of command-stripping things to the wall, college-dorm style, are best left behind. There are exceptions…but I would argue that they’re rare. So….sadly, yes…you’re going to need a frame.
Framing 101:
I want to quickly cover the basics for anyone new to framing—it’s quite simple! A frame is made up of two main components: the frame itself and (usually) a mat. The mat is the border around your artwork, made from matboard, which is basically just thick, sturdy paper. You could cut a mat by hand, but unless you’ve got an X-Acto knife, a very steady hand, and many hours to spare, it’s probably easier to have one cut for you. Thankfully, there are tons of websites and Etsy sellers who’ll handle that for you for a low cost. “Mounting” is just the process of placing your piece in the frame, stabilizing it, and adding the mat if you’re using one. Finally, on the back of the frame, you’ll usually find either D-rings/ring hangers or a wire to hang the piece up—both are easy to work with (but yes, a hammer and nail will probably need to be involved…).
(Here is an Etsy shop that we like for custom mats; here is an Etsy shop we like for frames)
11 ways to elevate your framing:
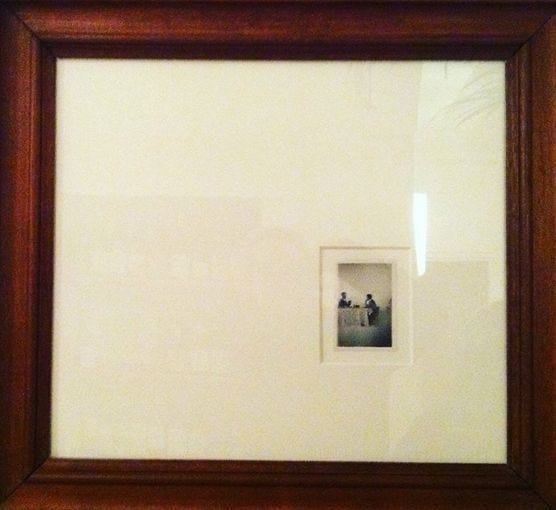
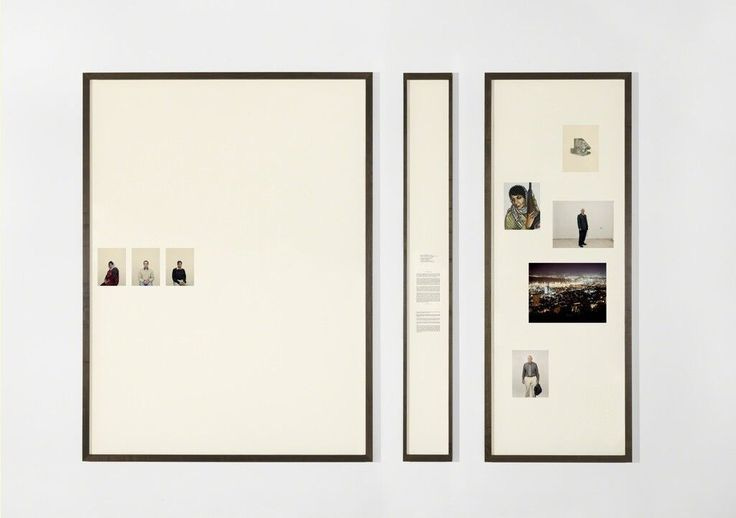
Use a larger mat. A simple, foolproof way to elevate your framing situation is to size up the mat wayyyy up. I take what I think is the right size…and double it. A generously large mat makes the whole piece feel substantial and intentional.
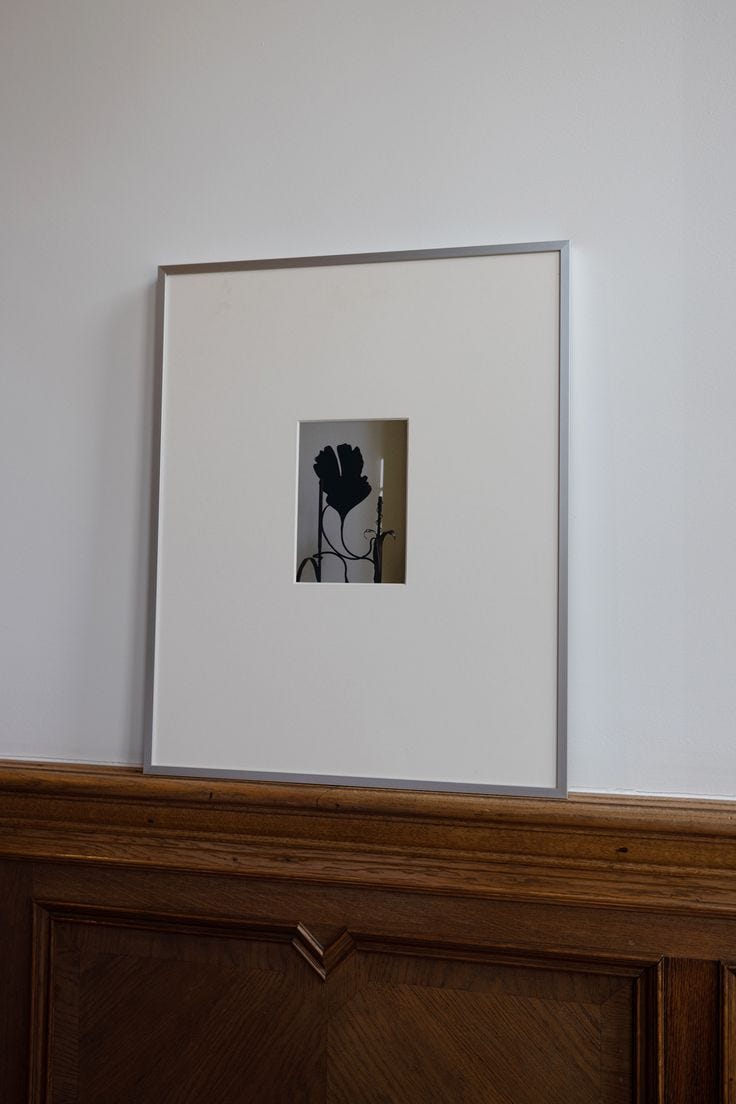
And then….play with placement. I love the look of a piece off-center within the mat; (here is an Etsy shop that can do this for you).
Mix up the materials. Try out frames of different materials….various woods, metals, etc. The texture & tone of the frame can totally change the overall effect.
Don’t be scared of color! It’s unexpected, and when done well, it is stunning. I especially love color frames when paired and contrasted with black-and-white pieces (like film photos or charcoal drawings).
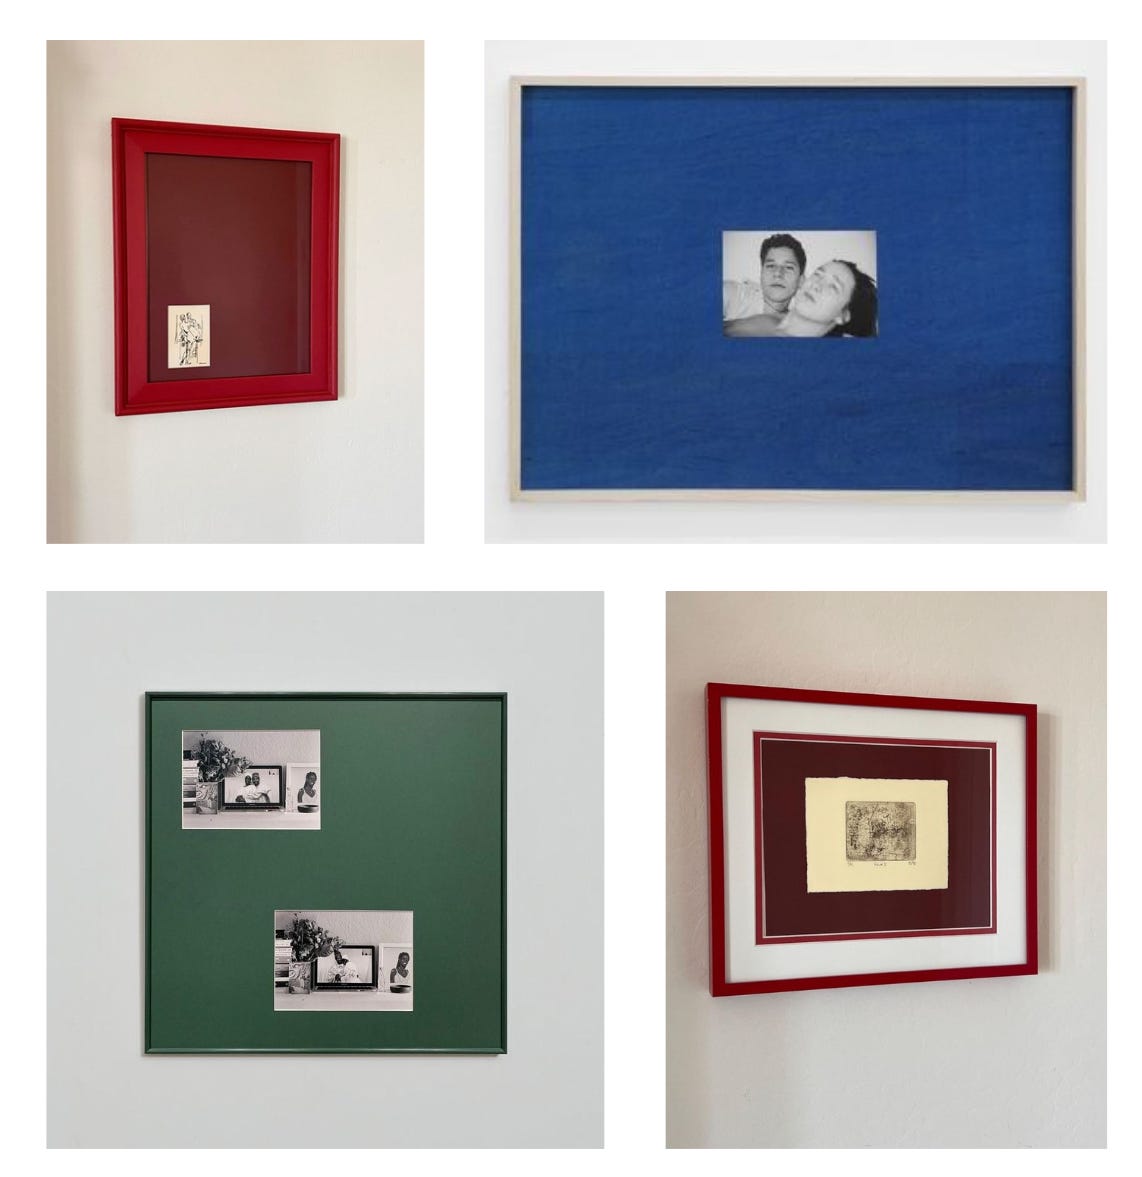
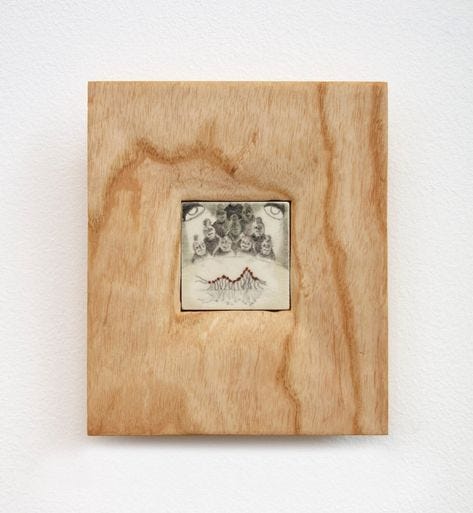
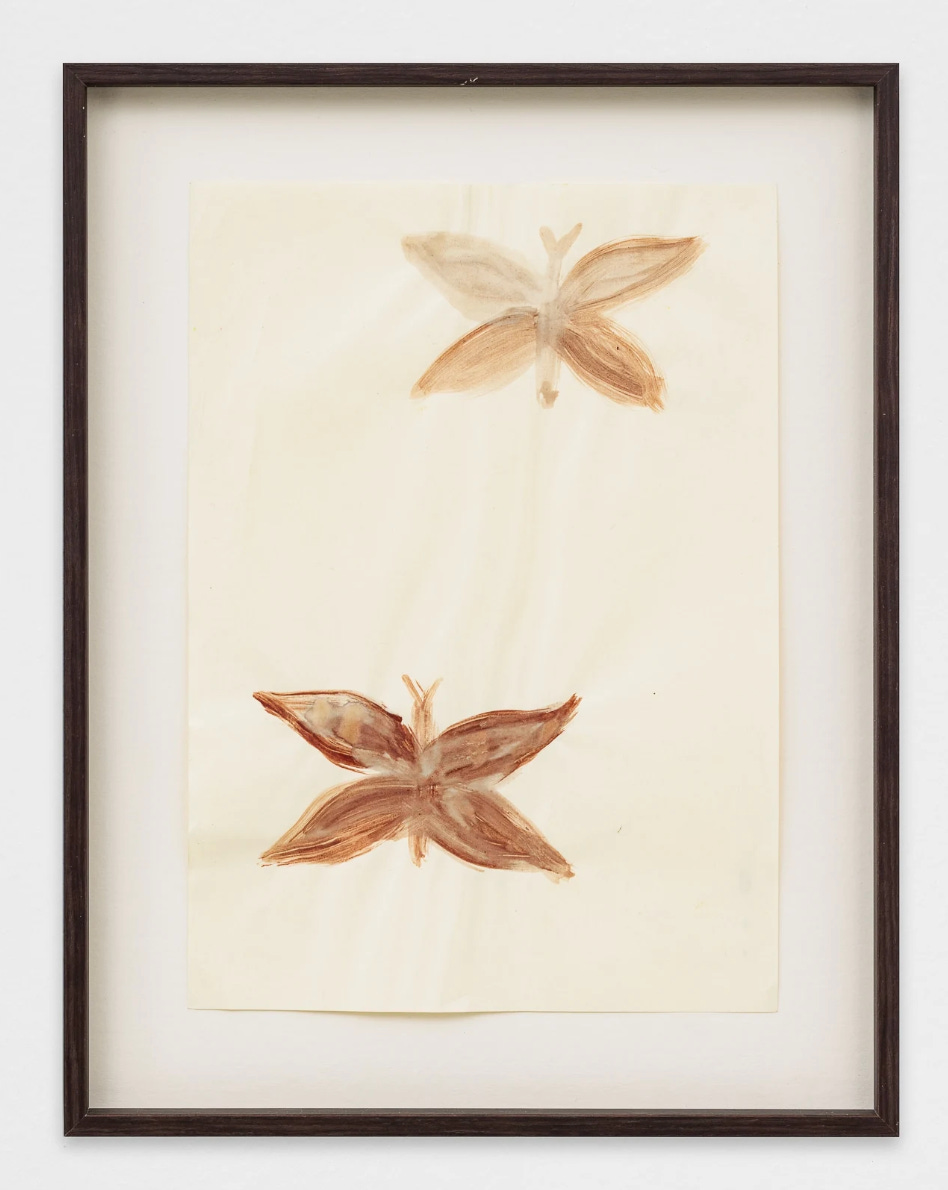
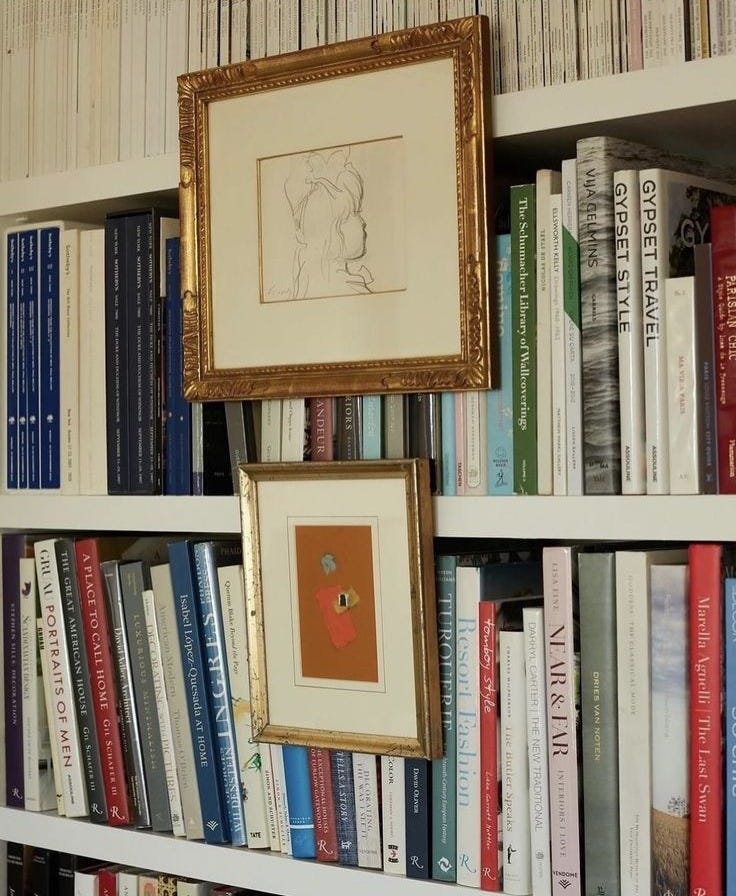
Instead of placing your artwork behind the mat, try mounting it on top (this is called float mounting). I find this works especially well for pieces with unfinished edges or unique textures. Or try layering your art on other art. I like pairing a landscape or abstract scene with a figurative piece (shown below) - it’s maybe not for everyone, but when it works, it works.


Use fabric! Instead of a traditional mat or backing, I love to use a piece of fabric. Linen (especially with a chunkier weave) and cotton are my favorite. You could even use old clothes you no longer wear or something unique you’ve thrifted. The fabric elevates things by subtly bringing in texture to the frame.
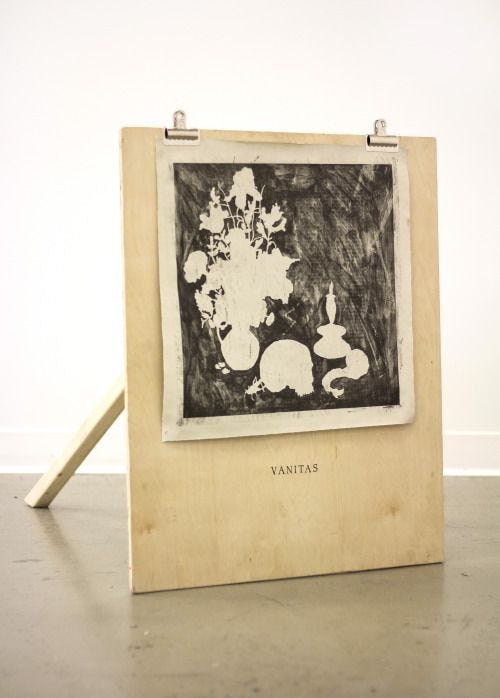
Think outside the traditional frame. You don’t always need an actual frame to display your art. I like the idea of using a vinyl record display, for example, to showcase a piece. I also like the idea of using metal clips to attach a piece to a plank of wood (shown below). These are both unexpected yet simple alternatives.


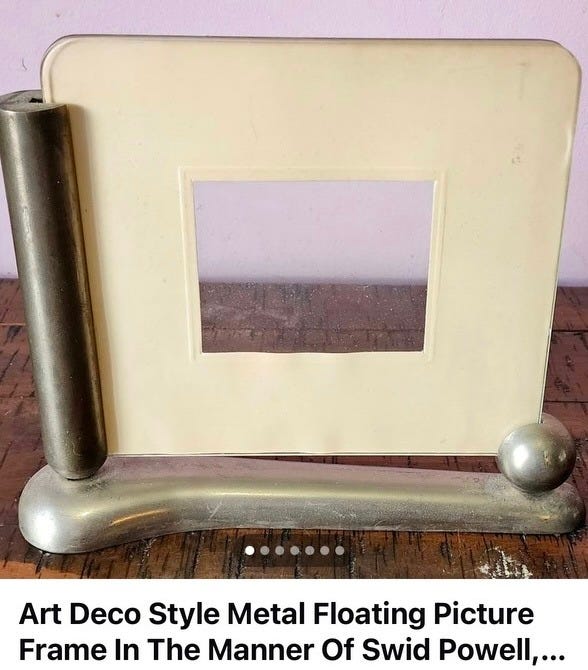
Vintage frames are my favorite. I’ll probably still be scrolling Facebook Marketplace at age 90—it truly never lets me down. Some of the best frames I’ve ever used have been vintage (yes, the one below is a little pricey, but you get the idea). My usual spots to check: Etsy, eBay, local flea markets, estate sales, or even your parents’ old frames.

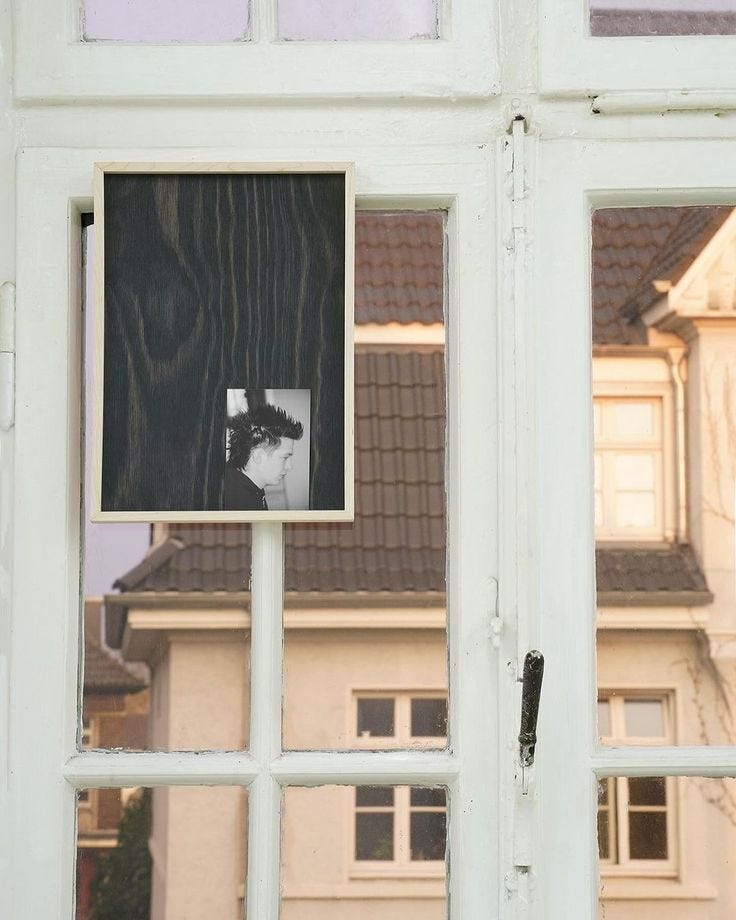
Rethink placement. Maybe it’s not the frame that needs a refresh—it could be where the piece is displayed. This might not be everyone’s thing, but I love seeing art attached on windowsills or bookshelves. This opens up a whole different conversation about where to place art in your space (a topic for another time), but I just wanted to mention it.
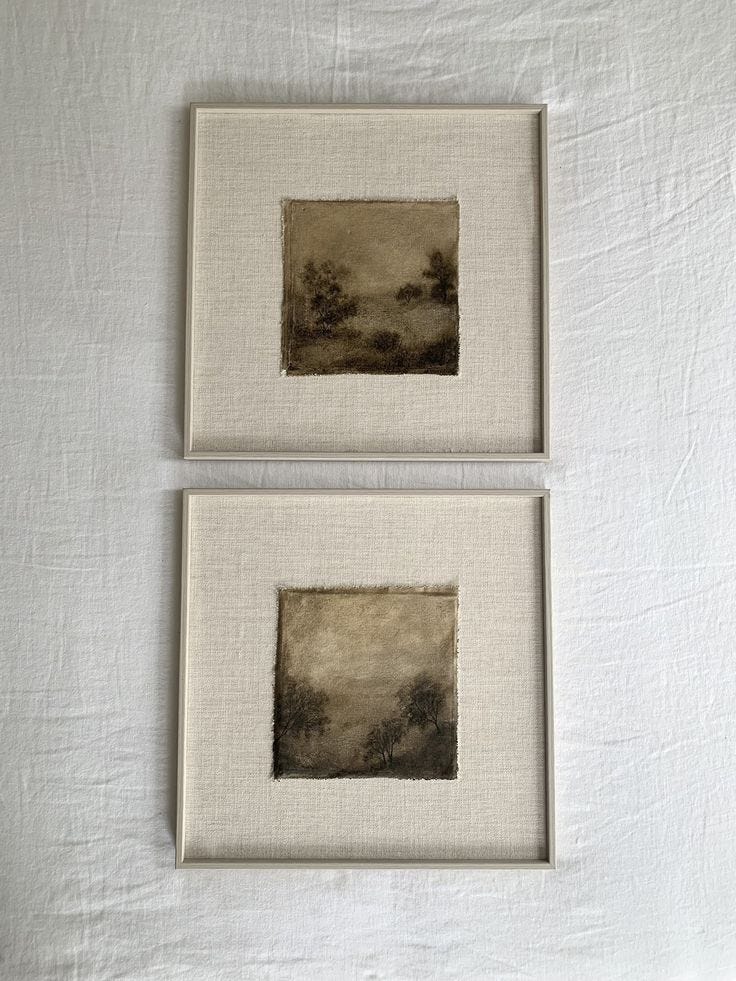
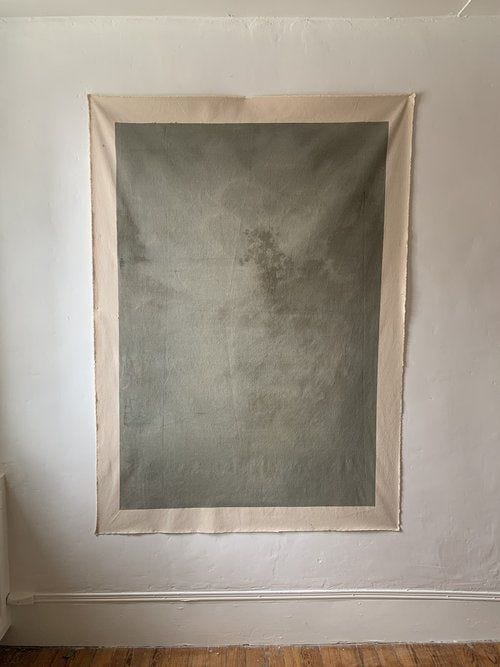
You don’t always need a frame. I know, this might contradict my earlier points, but in certain situations, a piece can look just as good without one. The key is to commit fully and make it feel intentional. I like this example below where they let the edges of the canvas show.
Back to the basics. Sometimes, nothing beats a classic. A simple frame—dark wood, black, white, or silver—a standard mat size, and your artwork. It’s timeless, clean, and just works.
My go-to process:
Often my general process for framing is to start with a vintage frame—I love the character of an old frame and it is often a more affordable option. If you’re on the hunt, I’ve linked a few options (both vintage and new) that I think are great picks.
Once I have the frame, I go to my local NYC framer to get custom mats cut based on the measurements I take and bring. Or I order them on Etsy from this shop. (For reference, mats usually run anywhere from anywhere from $10 to $100, depending on size.) After that, I bring the mats home and mount/assemble everything myself.
Et voila!
(… here are those links to some frames I love; here is an Etsy shop that we like for custom mats; here is an Etsy shop we like for frames)
Thank you for reading. I hope this was somewhat helpful — I’m having so much fun putting together these posts for you all!
Xx
Jamie
Oh, oh, OH!
I've collected frames throughout the years, whether or not I have a specific piece in mind for them. (One never knows!) But you've provided such wonderful and clever ideas that I'd never even considered. (Using old clothing and linens? WHAT. Game changer.)
I particularly love #4 — such a good, low-risk way to inject color into a space. All great tips. Thanks!